Hey there, fellow dessert lovers! If you’re anything like me, you love the idea of whipping up something sweet without spending ages in the kitchen. That’s where my passion for quick gluten free desserts comes in! I’m all about simple, delicious recipes that don’t require a culinary degree but still impress everyone at the table. Trust me, you won’t believe how easy it is to create mouthwatering treats without gluten.
Over the years, I’ve dabbled in gluten free baking, often experimenting with various ingredients to find the perfect balance of flavor and texture. It’s been a journey filled with delightful successes and a few mishaps along the way! But, the thrill of creating something scrumptious that everyone can enjoy—regardless of dietary restrictions—is what keeps me going. With this recipe, I’m excited to share a delightful dessert that checks all the boxes: it’s quick to prepare, completely gluten free, and oh-so-tasty!
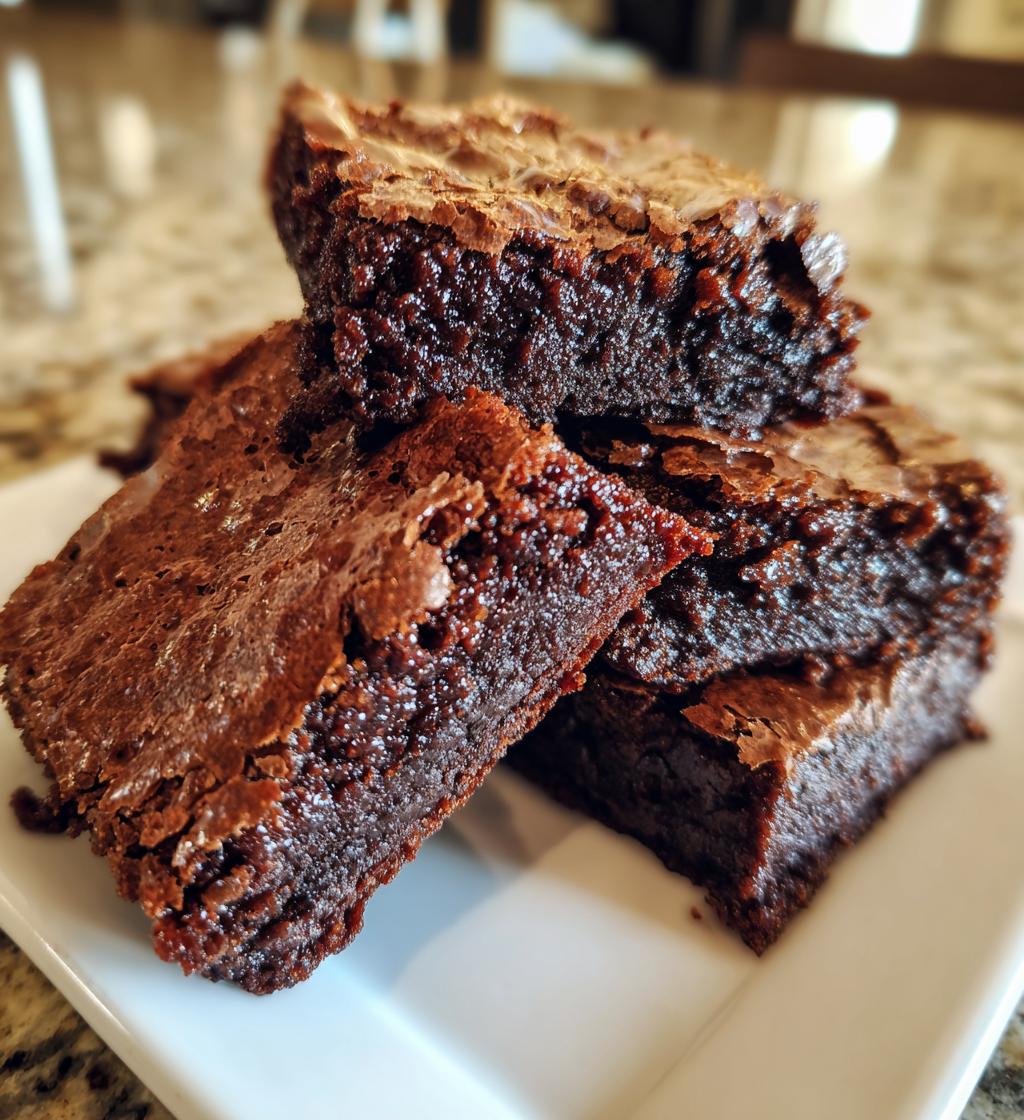
So, roll up your sleeves and let’s dive into the world of easy gluten free desserts that will have everyone coming back for seconds (or thirds!).
Ingredients List
Alright, let’s gather our ingredients! Each one plays a vital role in making these quick gluten free desserts not just easy, but absolutely delicious. Here’s what you’ll need:
- 1 cup almond flour: This is the star of the show! Almond flour is naturally gluten free and gives the dessert a delightful nutty flavor and moist texture. Just make sure you use finely ground almond flour for the best results.
- 1/4 cup cocoa powder: You can’t have chocolate desserts without cocoa! This adds a rich chocolatey taste. I always opt for unsweetened cocoa powder to keep the sweetness balanced.
- 1/2 cup maple syrup: A natural sweetener that brings a lovely depth of flavor. Plus, it keeps our dessert moist! I love using pure maple syrup, but if you’re in a pinch, agave nectar works too.
- 2 large eggs: Eggs are essential for binding everything together. They add moisture and help the dessert rise, creating that perfect texture. I recommend using room temperature eggs for the best mixing.
- 1/2 teaspoon baking soda: This little powerhouse helps our dessert rise and become fluffy. Make sure it’s fresh for optimal results!
- 1 teaspoon vanilla extract: A splash of vanilla adds warmth and enhances the flavors. Always go for pure vanilla extract if you can—it makes a noticeable difference!
- 1/4 teaspoon salt: Just a pinch! Salt enhances all the flavors and balances the sweetness beautifully. Don’t skip it!
With these simple ingredients, you’re on your way to creating something truly special. Let’s get ready to mix things up!
How to Prepare Quick Gluten Free Desserts
Now that we’ve gathered our ingredients, it’s time to get our hands dirty and whip up these delightful quick gluten free desserts! Don’t worry; I’ll guide you through each step with some tips along the way. Let’s dive right in!
Preheat the Oven
First things first—preheating your oven is crucial for even baking. Trust me, you don’t want to skip this step! Set your oven to 350°F (175°C) and let it warm up while you mix your ingredients. This way, your dessert will bake perfectly from start to finish.
Combine Dry Ingredients
In a medium bowl, mix together the almond flour, cocoa powder, baking soda, and salt. I like to whisk them together to ensure everything is evenly distributed. The cocoa powder should blend seamlessly with the almond flour, creating a lovely chocolatey base. It’s important to break up any clumps you might see. This step is quick but vital for the texture of your dessert!
Mix Wet Ingredients
In another bowl, whisk the eggs, maple syrup, and vanilla extract until they’re well combined. You want to see a lovely, frothy mixture that looks inviting! I usually give it a good 1-2 minutes of whisking to make sure everything is nice and smooth. The eggs should be fully incorporated, giving you that perfect blend of flavors.
Combine Ingredients
Now, it’s time for the fun part—combining your wet and dry ingredients! Pour the wet mixture into the bowl of dry ingredients and gently stir until everything is just combined. You’re aiming for a smooth batter, so don’t overmix! A few small lumps are totally fine. This is what gives your dessert that delightful texture. Just make sure there are no dry patches left behind!
Pour and Bake
Next, pour your batter into a greased baking dish. I prefer using a square or rectangular dish for easy cutting later on. Make sure to spread the batter evenly—this helps it bake uniformly. Place it in your preheated oven and set a timer for 20-25 minutes. You’ll know it’s done when a toothpick inserted in the center comes out clean. It’s like a little magic moment!
Cool and Serve
Once your dessert is baked to perfection, it’s essential to let it cool before serving. This not only helps it set but also makes it easier to cut. I usually leave it in the baking dish for about 10-15 minutes, then transfer it to a wire rack to cool completely. Now, for serving—this dessert is delicious on its own, but you can elevate it with a dollop of whipped cream or a sprinkle of fresh berries. Yum!
Nutritional Information Section
Let’s talk about the numbers! I know many of us are curious about what we’re putting into our bodies, especially when it comes to dessert. Here’s the estimated nutritional information for each serving of these delightful quick gluten free desserts:
- Calories: 150
- Sugar: 8g
- Sodium: 150mg
- Fat: 9g
- Saturated Fat: 1g
- Unsaturated Fat: 8g
- Trans Fat: 0g
- Carbohydrates: 15g
- Fiber: 3g
- Protein: 4g
- Cholesterol: 40mg
These numbers make it easy to enjoy a sweet treat without any guilt! Plus, with a good balance of healthy fats from the almond flour and natural sweetness from the maple syrup, you can indulge without completely derailing your day. It’s all about balance, right?
Why You’ll Love This Recipe
There are so many reasons to fall in love with these quick gluten free desserts! Here are just a few that make this recipe a must-try:
- Quick Preparation: With just 10 minutes of prep time, you can whip up these delicious treats in no time! Perfect for those last-minute cravings or unexpected guests.
- Gluten-Free Goodness: Everyone can enjoy these desserts without worrying about gluten! They’re made with almond flour, which not only keeps things gluten free but also adds a wonderful nutty flavor.
- Decadent Chocolate Flavor: Who can resist chocolate? This recipe delivers rich, chocolatey goodness that’s sure to satisfy any sweet tooth!
- Simple Ingredients: You probably already have most of these ingredients in your pantry! No need for fancy extras or complicated techniques.
- Versatile and Customizable: You can easily add your favorite mix-ins like nuts or chocolate chips for an extra twist. The possibilities are endless!
- Perfectly Moist Texture: Thanks to the combination of almond flour and maple syrup, these desserts turn out incredibly moist and tender, making every bite a delight.
With these benefits, you’ll want to make this recipe a staple in your dessert rotation. Trust me, it’s worth it!
Tips for Success
Alright, my fellow bakers, let’s ensure your quick gluten free desserts come out perfectly every time! Here are some tried-and-true tips that I’ve gathered from my own adventures in the kitchen. Trust me, you’ll want to keep these in mind!
Measure Ingredients Accurately
It’s super important to measure your ingredients correctly, especially when it comes to gluten free baking. Use a kitchen scale if you have one; it’ll make a world of difference! If you’re using measuring cups, spoon the flour into the cup and level it off with a knife—don’t scoop directly from the bag, as it can pack the flour and throw off your ratios.
Check Your Baking Soda
Old baking soda can lead to disappointing results! Make sure yours is fresh for that perfect rise. A quick test? Mix a teaspoon of baking soda with a splash of vinegar. If it fizzes, you’re good to go! If not, it’s time to get a new box.
Don’t Overmix the Batter
When combining your wet and dry ingredients, remember that less is more! Overmixing can lead to a dense texture, which is not what we want. Mix until just combined and embrace a few small lumps—your dessert will thank you later!
Use the Right Baking Dish
The size and type of your baking dish can affect the baking time. A smaller, deeper dish may require extra minutes in the oven, while a larger, shallower one will bake faster. Stick with a square or rectangular dish for even baking, and always grease it well to ensure easy removal.
Know Your Oven
Every oven is a little different, so keep an eye on your dessert as it bakes! If you notice it browning too quickly, you can loosely cover it with aluminum foil to prevent over-baking while the center cooks through. Also, remember to trust your instincts—if it looks done, it probably is!
Let It Cool Properly
Patience is key! Allow your dessert to cool in the baking dish for about 10-15 minutes before transferring it to a wire rack. This helps it set and makes cutting much easier. If you start cutting too soon, you might end up with a crumbly mess—yikes!
Experiment with Mix-Ins
Don’t be afraid to get creative! Adding nuts, chocolate chips, or even dried fruit can elevate your quick gluten free desserts to the next level. Just remember to adjust the baking time slightly if you add a lot of extra ingredients, as they can alter the moisture content.
With these tips, you’ll be well on your way to mastering this recipe and impressing everyone with your delicious quick gluten free desserts. Happy baking!
Variations
One of the best things about these quick gluten free desserts is how easy they are to customize! You can really make this recipe your own by swapping in different ingredients or adding your favorite flavors. Here are some tasty variations to consider:
- Nutty Delight: Add 1/2 cup of chopped nuts, such as walnuts or pecans, to bring in some crunch and healthy fats. Just fold them in gently with the batter!
- Chocolate Chip Heaven: For an extra indulgence, mix in 1/2 cup of chocolate chips—dark, semi-sweet, or even white chocolate will work beautifully in this recipe.
- Fruit Fusion: Toss in 1/2 cup of your favorite dried fruits, like cranberries or raisins. You could also add fresh berries like blueberries or raspberries for a burst of flavor!
- Minty Fresh: If you’re a mint lover, add 1/2 teaspoon of peppermint extract instead of vanilla for a refreshing twist. This pairs wonderfully with chocolate!
- Spice It Up: Consider adding 1 teaspoon of cinnamon or a pinch of nutmeg to the dry ingredients for a warm, spiced flavor that elevates the dessert!
- Matcha Magic: Replace 2 tablespoons of cocoa powder with 2 tablespoons of matcha powder for a unique green tea flavor. This will create a beautiful, vibrant color!
- Peanut Butter Swirl: For a creamy, nutty flavor, fold in 1/2 cup of creamy peanut butter into the wet ingredients. You can also swirl it on top before baking for a gorgeous presentation.
Feel free to mix and match these variations to suit your taste buds! The beauty of this quick gluten free dessert is that it’s so adaptable. Just remember to keep an eye on baking times if you’re adding extra ingredients, as they can change the moisture levels. Happy experimenting!
Storage & Reheating Instructions
Alright, let’s talk about how to store those delightful quick gluten free desserts! If you happen to have any leftovers (which is rare around here!), you’ll want to keep them fresh for as long as possible. Here’s how to do it:
- Airtight Container: Once your dessert has cooled completely, transfer it to an airtight container. This helps maintain its moisture and keeps it from drying out. You can store it at room temperature for up to 2 days, or in the fridge for about a week.
- Freezing for Later: If you want to keep them for a longer period, these desserts freeze beautifully! Just wrap individual pieces in plastic wrap, then place them in a freezer-safe container or a zip-top bag. They’ll last for up to 3 months! When you’re ready to indulge again, just thaw them in the fridge overnight.
Now, let’s talk about reheating! If you’re like me and enjoy your desserts warm, here’s the best way to do it:
- Microwave: Pop a piece in the microwave for about 10-15 seconds. Just be careful not to overdo it, or you might end up with a rubbery texture!
- Oven: For a more even heat and that lovely, fresh-baked aroma, preheat your oven to 350°F (175°C), place your dessert on a baking sheet, and warm it for about 5-10 minutes. This is my favorite method, as it brings back that just-baked goodness!
With these simple storage and reheating tips, you can enjoy your quick gluten free desserts whenever the craving strikes! Happy snacking!
Print
Quick Gluten Free Desserts: 5 Sweet Recipes You’ll Love
- Total Time: 35 minutes
- Yield: 8 servings 1x
- Diet: Gluten Free
Description
Easy and delicious gluten free desserts that can be made in no time.
Ingredients
- 1 cup almond flour
- 1/4 cup cocoa powder
- 1/2 cup maple syrup
- 2 large eggs
- 1/2 teaspoon baking soda
- 1 teaspoon vanilla extract
- 1/4 teaspoon salt
Instructions
- Preheat your oven to 350°F (175°C).
- In a bowl, mix almond flour, cocoa powder, baking soda, and salt.
- In another bowl, whisk eggs, maple syrup, and vanilla extract.
- Combine wet and dry ingredients until smooth.
- Pour the batter into a greased baking dish.
- Bake for 20-25 minutes or until set.
- Let it cool before serving.
Notes
- Store leftovers in an airtight container.
- You can add nuts or chocolate chips for variation.
- Try serving with whipped cream or fruit.
- Prep Time: 10 minutes
- Cook Time: 25 minutes
- Category: Dessert
- Method: Baking
- Cuisine: American
Nutrition
- Serving Size: 1 piece
- Calories: 150
- Sugar: 8g
- Sodium: 150mg
- Fat: 9g
- Saturated Fat: 1g
- Unsaturated Fat: 8g
- Trans Fat: 0g
- Carbohydrates: 15g
- Fiber: 3g
- Protein: 4g
- Cholesterol: 40mg
Keywords: quick gluten free desserts, easy gluten free desserts, gluten free baking