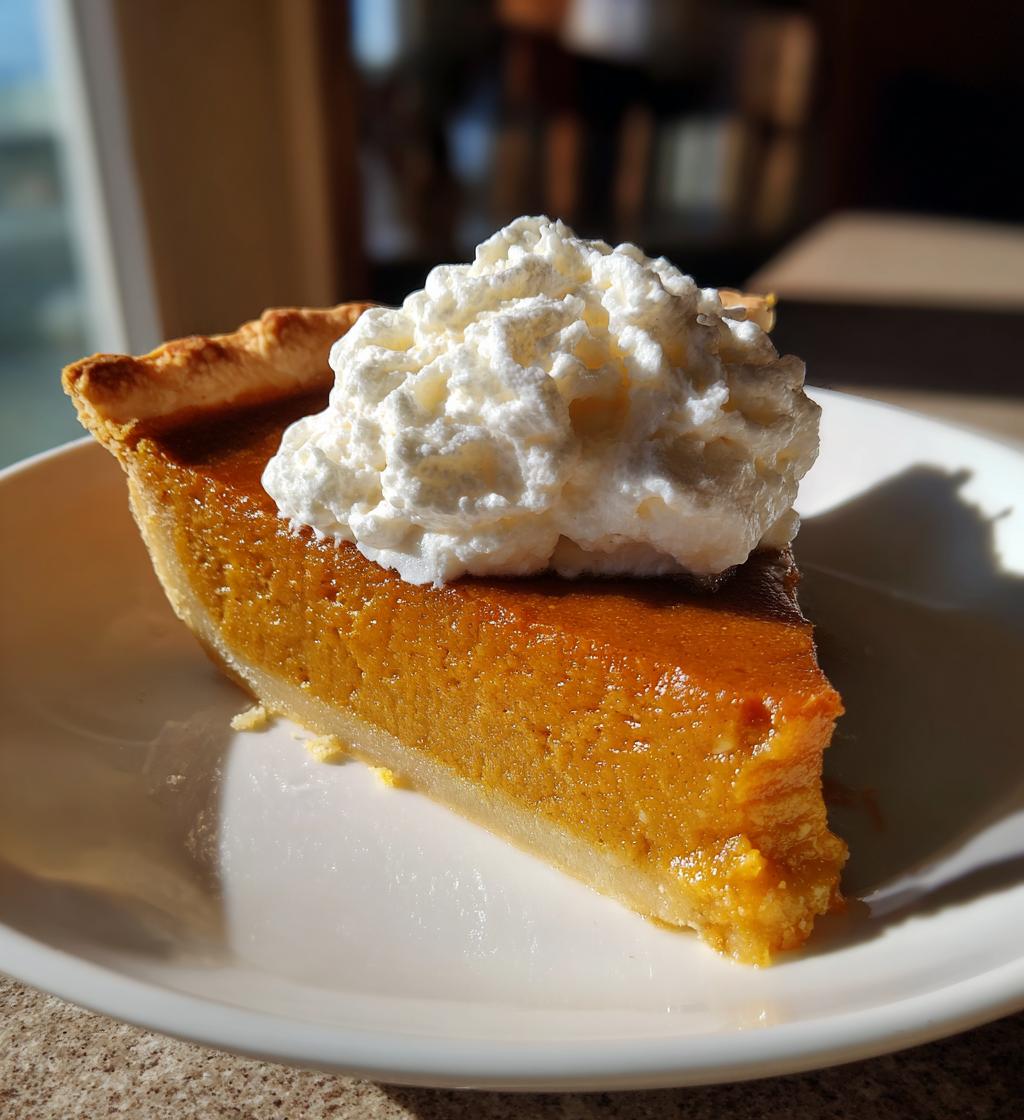
Ah, fall! The season of cozy sweaters, crisp leaves, and the warm aroma of spices wafting through the air! I absolutely love gathering with family and friends, and nothing brings people together quite like food, right? That’s why I’m thrilled to share this recipe for an easy fall dessert that’s perfect for a crowd. Imagine the delightful sight of a golden pumpkin pie, fresh from the oven, just waiting to be sliced and served. It’s simple, delicious, and oh-so-satisfying! Trust me, this dessert will have everyone coming back for seconds (or thirds!).
What I adore about this pumpkin pie recipe is how it captures all those classic fall flavors—cinnamon, nutmeg, and ginger—while being incredibly easy to whip up. You don’t need to be a professional baker to impress your guests; this pie is straightforward and forgiving, which makes it a great choice for any home cook, regardless of skill level. And the best part? You can make it a day in advance, which means less stress and more time to enjoy the festivities! So, let’s dive into the ingredients and get started on this delightful treat that’s sure to be the star of your fall gatherings!
Ingredients List
- 3 cups of pumpkin puree
- 1 cup of sugar
- 1 teaspoon of cinnamon
- 1/2 teaspoon of nutmeg
- 1/2 teaspoon of ginger
- 1/2 teaspoon of salt
- 4 large eggs
- 1 cup of evaporated milk
- 1 pre-made pie crust
- Whipped cream for topping
How to Prepare Instructions
Now that we have our ingredients ready, it’s time to get our hands a little messy and create this delicious pumpkin pie! Don’t worry; I’ll guide you through each step to make it super easy and stress-free. Let’s jump right in!
Step-by-Step Instructions
- Preheat your oven: Start by preheating your oven to 425°F (220°C). This is super important because a hot oven helps the pie set just right.
- Mix the pumpkin filling: In a large mixing bowl, combine the pumpkin puree, sugar, cinnamon, nutmeg, ginger, and salt. Give it a good stir until everything is well mixed. The smell will already start to get you excited!
- Add the eggs and milk: Crack in the four large eggs and pour in the evaporated milk. Mix everything together until the filling is nice and smooth. You want it to be creamy and well-combined.
- Pour into the crust: Carefully pour the pumpkin mixture into your pre-made pie crust. Make sure it’s evenly distributed so every slice has that heavenly filling!
- Bake it up: Place your pie in the oven and bake at 425°F (220°C) for 15 minutes. This initial high heat helps the crust become crispier.
- Lower the temperature: After 15 minutes, reduce the oven temperature to 350°F (175°C) and continue baking for an additional 40-50 minutes. You’ll know it’s done when the filling is set but still slightly jiggles in the center.
- Cool it down: Once it’s baked to perfection, take it out of the oven and let it cool completely. This is the hardest part—waiting! But it’ll be worth it when you slice into that delicious pie.
- Top with whipped cream: Just before serving, don’t forget to add a generous dollop of whipped cream on top! It’s the cherry on the sundae, or in this case, the cream on the pie!
And there you have it! You’ve just made a scrumptious pumpkin pie that’s not only easy but also perfect for sharing with a crowd. Can you smell the fall goodness? I can’t wait for you to share it with your loved ones!
Nutritional Information Section
Let’s talk nutrition! This pumpkin pie recipe is not only delicious but also gives you a good idea of what you’re enjoying. Here’s the estimated nutritional breakdown per slice:
- Calories: 250
- Fat: 10g
- Saturated Fat: 3g
- Unsaturated Fat: 5g
- Trans Fat: 0g
- Cholesterol: 50mg
- Sodium: 100mg
- Carbohydrates: 35g
- Fiber: 2g
- Protein: 4g
- Sugar: 15g
Keep in mind that these values are estimates based on standard ingredient brands, so actual nutritional content may vary slightly depending on what you use. But hey, a slice of this pie is a delightful treat you can feel good about sharing with family and friends!
Tips for Success
Now that you’re ready to whip up this delicious pumpkin pie, here are some of my tried-and-true tips to ensure everything goes off without a hitch. Trust me, these little nuggets of wisdom will take your pie from good to absolutely fantastic!
Use fresh pumpkin puree if you can
If you have the time, consider using fresh pumpkin puree instead of canned. It adds a vibrant flavor that’s hard to beat! Just roast a sugar pumpkin, scoop out the flesh, and blend it until smooth. The result is unbelievably tasty and makes your pie even more special!
Don’t skip the spices
While the recipe calls for cinnamon, nutmeg, and ginger, feel free to get creative! A pinch of allspice or clove can add another layer of warmth. Just remember, a little goes a long way, so start small and taste as you go!
Check your pie crust
Make sure your pre-made pie crust is thawed and at room temperature before filling it. If it’s too cold, it might crack when you pour in the pumpkin mixture. If you’re feeling adventurous, try crimping the edges for a homemade touch!
Cool completely before slicing
I know the temptation is real, but letting your pie cool completely before slicing is crucial. This allows the filling to set properly, making it easier to serve and giving you those beautiful, clean slices. Plus, the flavors meld together as it cools, enhancing the taste!
Make it a day ahead
As I mentioned earlier, this pie can be made a day in advance! Not only does this save you time on the day of your gathering, but it also allows the flavors to deepen—your guests will be raving about it! Just cover it with plastic wrap and store it in the fridge.
By following these handy tips, your pumpkin pie will be the highlight of any fall gathering. I can’t wait for you to share it with your loved ones and see their smiles as they dig into your delicious creation!
Variations
One of the best things about this pumpkin pie recipe is how versatile it is! You can easily customize it to suit different tastes or dietary needs. Here are some fun variations to consider:
Spice it up
If you want to switch up the flavor profile, try adding different spices! A dash of allspice or a pinch of ground cloves can create a cozy, warm twist. You could even throw in some cardamom for a unique depth that’ll have your friends asking for your secret!
Change the crust
While a classic pie crust is always a hit, consider experimenting with different crust options. A graham cracker crust adds a lovely crunch and sweetness, while a ginger snap crust can amplify those fall flavors. If you’re gluten-free, you can use a store-bought gluten-free crust or make your own with almond flour and coconut oil.
Add some chocolate
For all the chocolate lovers out there, think about swirling in some melted chocolate or adding chocolate chips to the pumpkin filling before baking. The combination of chocolate and pumpkin is unexpected but absolutely delightful!
Top it differently
Instead of traditional whipped cream, you can get creative with toppings! Try a dollop of vanilla ice cream for a decadent dessert or sprinkle some candied pecans on top for extra crunch. You could even whip up a maple-infused cream for a sweet twist that pairs wonderfully with the pumpkin.
Make it mini
If you want to serve smaller portions, consider baking the pumpkin filling in mini tart shells or ramekins. They’re adorable and perfect for parties! Plus, everyone loves their own little dessert!
With these variations, you can keep this pumpkin pie exciting and fresh every time you make it! Don’t hesitate to mix and match ideas to find the perfect combination that suits your crowd. Happy baking!
Why You’ll Love This Recipe
- Quick and Easy: This pumpkin pie comes together in just about 15 minutes of prep time, making it a breeze for busy fall days.
- Perfect for a Crowd: With 8 generous servings, it’s an ideal dessert for gatherings, parties, or family dinners.
- Full of Fall Flavors: Each slice is packed with the warm spices of the season—cinnamon, nutmeg, and ginger—bringing that cozy fall vibe right to your table.
- Make-Ahead Friendly: You can prepare it a day in advance, letting the flavors develop while saving you time on the day of your gathering.
- Versatile Topping Options: Whether you prefer classic whipped cream, a scoop of ice cream, or even a drizzle of caramel, this pie pairs beautifully with a variety of toppings.
- Kid-Friendly: Kids and adults alike will love the sweet, creamy filling and the delightful pumpkin flavor, making it a hit for all ages.
Storage & Reheating Instructions
Alright, let’s talk about how to keep that delicious pumpkin pie fresh and ready to enjoy later! Storing leftovers properly is key to maintaining its flavor and texture, so here’s what you need to know.
Storing Leftovers
Once your pumpkin pie has cooled completely, cover it with plastic wrap or aluminum foil to keep it fresh. You can store it in the refrigerator for up to 3-4 days. Just make sure it’s well covered to prevent it from absorbing any other flavors in the fridge—no one wants a pie that tastes like last week’s lasagna!
Freezing for Longer Storage
If you want to keep your pie for longer, you can freeze it! Just wrap it tightly in plastic wrap and then in aluminum foil or a freezer-safe bag. It can be frozen for up to 2 months. When you’re ready to enjoy it, just transfer it to the fridge to thaw overnight. This way, you’ll have a slice of fall ready to go whenever the craving strikes!
Reheating Instructions
When it’s time to savor your pie again, reheating is super simple. Preheat your oven to 350°F (175°C) and place the pie on a baking sheet to catch any drips. Heat it in the oven for about 15-20 minutes, or until it’s warmed through. This method keeps the crust nice and flaky while warming the filling.
If you’re in a hurry, you can also use the microwave. Just pop a slice on a microwave-safe plate and heat it for about 30 seconds to 1 minute. Just be careful not to overdo it, as the microwave can make the crust a bit soft.
With these storage and reheating tips, you can enjoy your pumpkin pie days after baking—if there’s any left, that is! Happy baking and enjoy every delightful bite!
FAQ Section
Q1. Can I use fresh pumpkin instead of canned pumpkin puree?
Absolutely! Using fresh pumpkin can elevate your pie’s flavor. Just roast a sugar pumpkin, scoop out the flesh, and blend it until smooth. It may take a little extra effort, but the taste is worth it!
Q2. What if I don’t have evaporated milk?
No worries! You can substitute with regular milk or half-and-half. If you want a richer flavor, go for heavy cream. Just keep in mind that the texture might be a little different, but it’ll still be delicious!
Q3. How do I know when my pumpkin pie is done baking?
Great question! The pie is done when the filling is set but still has a slight jiggle in the center. It should also pull away from the edges of the crust a bit. A toothpick test can help too—if it comes out clean, you’re good to go!
Q4. Can I make this pie gluten-free?
Yes! You can definitely make a gluten-free version by using a gluten-free pie crust. There are many great options available, or you could even make a crust using almond flour for a delicious twist!
Q5. How should I store my leftover pumpkin pie?
Once it’s completely cooled, cover your pie with plastic wrap or aluminum foil and store it in the refrigerator for up to 3-4 days. If you want to keep it longer, you can freeze it for up to 2 months. Just remember to thaw it in the fridge overnight before serving!

Easy Fall Desserts for a Crowd: 7 Cozy Treats to Share
- Total Time: 1 hour 15 minutes
- Yield: 8 servings 1x
- Diet: Vegetarian
Description
Delicious and easy fall desserts perfect for serving a crowd.
Ingredients
- 3 cups of pumpkin puree
- 1 cup of sugar
- 1 teaspoon of cinnamon
- 1/2 teaspoon of nutmeg
- 1/2 teaspoon of ginger
- 1/2 teaspoon of salt
- 4 large eggs
- 1 cup of evaporated milk
- 1 pre-made pie crust
- Whipped cream for topping
Instructions
- Preheat your oven to 425°F (220°C).
- In a large bowl, mix pumpkin puree, sugar, cinnamon, nutmeg, ginger, and salt.
- Add eggs and evaporated milk, and mix until smooth.
- Pour the mixture into the pie crust.
- Bake for 15 minutes, then reduce temperature to 350°F (175°C) and bake for an additional 40-50 minutes.
- Let it cool before serving.
- Top with whipped cream before serving.
Notes
- Can be made a day in advance.
- Store leftovers in the refrigerator.
- Serve with a sprinkle of cinnamon on top.
- Prep Time: 15 minutes
- Cook Time: 1 hour
- Category: Dessert
- Method: Baking
- Cuisine: American
Nutrition
- Serving Size: 1 slice
- Calories: 250
- Sugar: 15g
- Sodium: 100mg
- Fat: 10g
- Saturated Fat: 3g
- Unsaturated Fat: 5g
- Trans Fat: 0g
- Carbohydrates: 35g
- Fiber: 2g
- Protein: 4g
- Cholesterol: 50mg
Keywords: easy fall desserts for a crowd