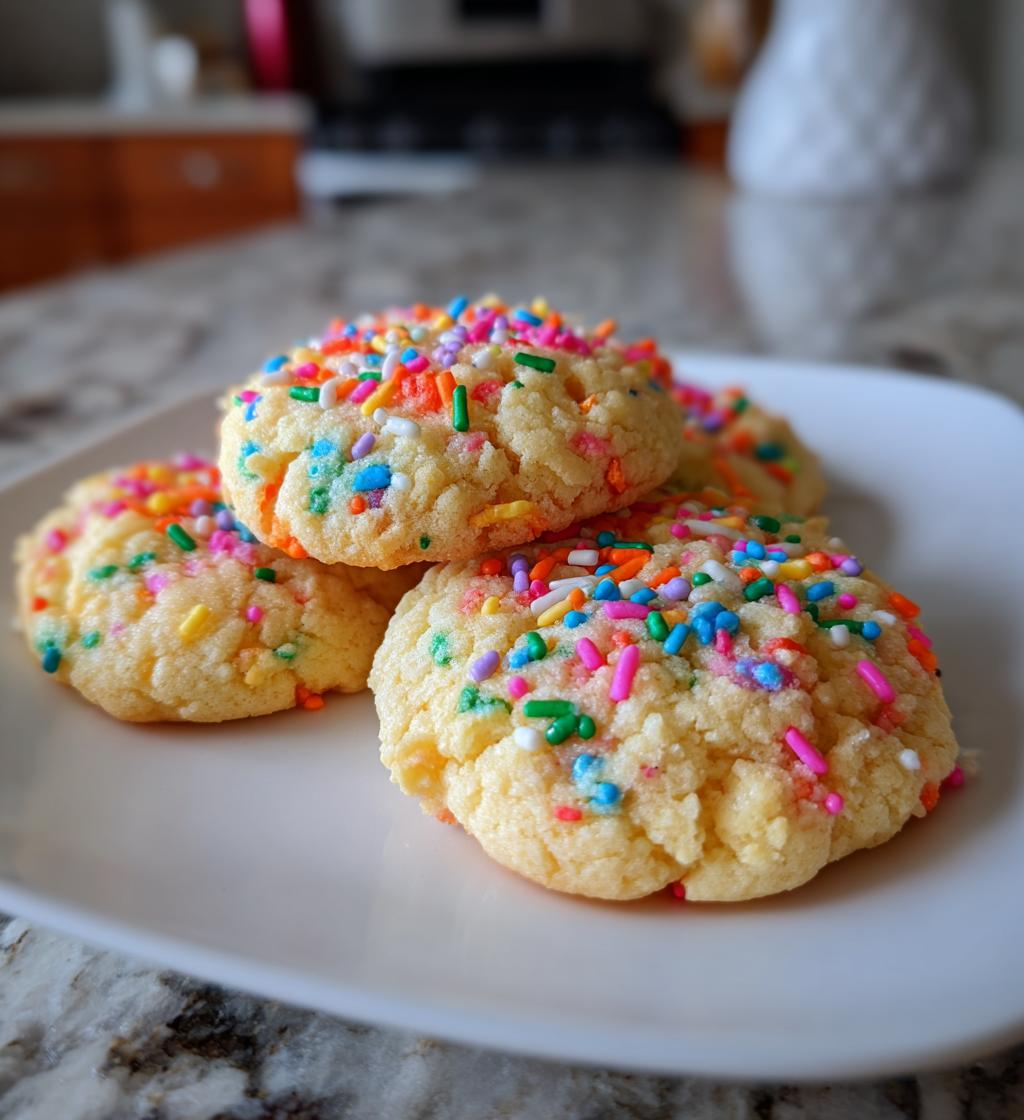
Spring is in the air, and you know what that means—it’s time for the most delightful batch of spring cookies! I mean, who doesn’t get a little giddy when they see those vibrant colors and festive sprinkles? These cookies are not just about flavor; they’re a celebration on a plate! I still remember the first time I made them with my kids. We had flour everywhere, giggles echoing through the kitchen, and our faces were smeared with icing from taste-testing along the way. It was pure chaos, but oh, what joyful chaos it was!
What makes this recipe truly special is how simple it is while letting your creativity shine. You can customize these cookies with any sprinkle colors you like, making them perfect for Easter, birthday parties, or just because it’s a sunny day! The best part? These cookies bake up soft and chewy, with a delightful crunch from the sprinkles. I promise, each bite brings a burst of happiness that’ll brighten up your spring days. So, let’s roll up our sleeves and get baking! You won’t regret it!
Ingredients List
- 2 cups all-purpose flour
- 1 cup granulated sugar
- 1/2 cup butter, softened (make sure it’s at room temperature for easy mixing)
- 1 large egg
- 1 tsp pure vanilla extract
- 1 tsp baking powder
- 1/2 tsp salt
- 1 cup colorful sprinkles (feel free to mix and match for a festive touch!)
How to Prepare Spring Cookies
Alright, let’s dive into the fun part—making those scrumptious spring cookies! Trust me, you’ll want to follow these steps closely to get that perfect batch. Let’s get those ovens warmed up and our mixing bowls ready!
Prepping the Oven and Mixing Ingredients
First things first, preheat your oven to 350°F (175°C). This is crucial, so don’t skip it! While that wonderful heat is building up, grab a large mixing bowl and add your softened butter and sugar. Using either a mixer or a sturdy wooden spoon, cream them together until the mixture is light and fluffy—this usually takes about 2-3 minutes. You’ll know it’s ready when it looks pale and airy. Then, crack in that large egg and pour in the vanilla extract. Mix it all together until it’s nice and combined. This step is all about creating a lovely base for those cookies!
Combining Dry and Wet Ingredients
In another bowl, whisk together the flour, baking powder, and salt. This helps evenly distribute the baking powder and ensures there are no clumps. Now, here comes the fun part! Gradually add your dry ingredients to the wet mixture. I like to do this in three batches, mixing gently after each addition until just combined. Be careful not to overmix—when you see a few flour streaks, that’s your cue to stop! We want a smooth batter but don’t need it to be perfectly uniform just yet.
Adding Sprinkles and Baking
Now for the magic—fold in those colorful sprinkles! You can use a spatula for this, and be gentle so you don’t deflate the batter. Once they’re mixed in, it’s time to drop spoonfuls of dough onto a baking sheet lined with parchment paper. I usually go for about two tablespoons per cookie. Leave some space between them, as they will spread a little while baking. Pop the tray into the preheated oven and bake for 10-12 minutes, or until the edges turn lightly golden. Your kitchen will smell heavenly!
Cooling and Storing the Cookies
Once they’re baked to perfection, carefully pull them out of the oven and let them cool on the baking sheet for about 5 minutes. This helps them set up nicely. Then, transfer those delicious cookies to a wire rack to cool completely. If you can resist, let them cool for a bit longer before diving in! For storing, keep them in an airtight container at room temperature, and they’ll stay fresh for several days—if they last that long, that is!
Tips for Success
Want to ensure your spring cookies turn out absolutely perfect? I’ve got some tried-and-true tips that will have your cookies looking and tasting like they came straight from a bakery!
Chill the Dough for Thicker Cookies
If you prefer cookies with a bit more thickness and chew, try chilling your dough for about 30 minutes before baking. Just wrap it in plastic wrap and pop it in the fridge. This little step helps the cookies maintain their shape and prevents them from spreading too much in the oven. Plus, who doesn’t love a good excuse to take a break during baking?
Customize with Different Sprinkles
Don’t be afraid to get creative with your sprinkles! Whether you want pastel colors for Easter or vibrant hues for a birthday party, mix and match to suit the occasion. You can even use themed sprinkles, like little flowers or bunnies, to make your cookies extra special. The more colorful, the better—it’s all about bringing that springtime cheer to your treats!
Keep an Eye on Baking Time
Every oven is a bit different, so keep a close watch on your cookies as they bake. You might find that your cookies need just a minute more or less than the suggested baking time. Look for those golden edges and a soft center that will continue to firm up as they cool. Trust your instincts here; you want them perfectly baked, not overdone!
Experiment with Flavor Additions
Feeling adventurous? Try adding a touch of lemon zest or almond extract to the dough for a unique twist. These subtle flavors can elevate your spring cookies to a whole new level. Just remember to adjust the vanilla slightly if you’re adding something new; you want all the flavors to harmonize beautifully!
By keeping these tips in mind, you’ll be well on your way to creating a batch of spring cookies that’ll impress everyone. Happy baking! 🍪
Nutritional Information
Now, let’s talk about the nutritional side of these delightful spring cookies! It’s always good to have an idea of what we’re munching on, right? Keep in mind that these values are estimates based on the ingredients used and can vary slightly depending on brands and specific measurements. Here’s what you can expect per cookie:
- Calories: 150
- Sugar: 10g
- Fat: 7g
- Saturated Fat: 4g
- Unsaturated Fat: 2g
- Trans Fat: 0g
- Carbohydrates: 20g
- Fiber: 0g
- Protein: 2g
- Cholesterol: 20mg
- Sodium: 50mg
So, while these cookies are a sweet treat, they’re also packed with joy! Enjoy them in moderation, and you’ll be all set for a cheerful spring celebration!
FAQ Section
Got questions about these delightful spring cookies? Don’t worry, I’ve got you covered! Here are some common queries that pop up, along with my best tips and tricks to ensure your baking experience is a breeze.
How should I store my spring cookies?
To keep your cookies fresh and tasty, store them in an airtight container at room temperature. They’ll stay nice for several days—if you can resist eating them all at once! If you happen to have leftovers, you can also freeze them for up to three months. Just make sure to layer them with parchment paper to prevent sticking.
Can I substitute ingredients in this recipe?
Absolutely! If you’re out of butter, you can use coconut oil or even vegetable shortening. Just keep in mind that the flavor and texture might vary a bit. For a dairy-free version, use a plant-based butter substitute. And if you’re in need of a sugar alternative, granulated stevia or coconut sugar can work, but you may need to adjust the measurements for sweetness.
What if I don’t have sprinkles? Can I use something else?
Of course! If you don’t have sprinkles on hand, you can add mini chocolate chips, crushed nuts, or even dried fruit for a fun twist. Just think about what flavors you enjoy and go wild with your creativity! You could even roll the dough in powdered sugar before baking for a lovely finish.
How can I make these cookies more festive for different occasions?
To make your cookies theme-ready, adjust the colors of your sprinkles or add a drizzle of colored icing on top after they cool. For holidays like Easter, you can use pastel-colored sprinkles or even edible glitter for that extra sparkle! If you’re celebrating a birthday, consider adding fun shapes or themed sprinkles to match the celebration.
Can I make these cookies ahead of time?
Definitely! You can prepare the dough ahead of time and chill it in the fridge for up to 48 hours before baking. Just remember to bring it to room temperature for about 15 minutes before scooping it onto the baking sheet. You can also bake them in advance and store them in an airtight container, which makes them perfect for prepping for parties!
If you have any other questions, feel free to reach out! Baking should be fun, and I’m here to help make your spring cookie journey as delightful as possible!
Why You’ll Love This Recipe
- Quick Preparation: These spring cookies come together in just about 15 minutes of prep time, making them perfect for last-minute baking when you need a sweet treat in a hurry!
- Fun for Celebrations: With their vibrant colors and festive sprinkles, these cookies are a hit at any gathering, from Easter brunches to birthday parties and everything in between!
- Customizable Options: You can easily switch up the sprinkles to match any occasion, or even add unique flavors like lemon or almond for a personal touch. It’s all about making them your own!
- Soft and Chewy Texture: These cookies bake up soft and chewy, with that delightful crunch from the sprinkles that keeps everyone coming back for more.
- Kid-Friendly Activity: Baking these cookies is a great way to spend time with your kids, letting them help with mixing and adding sprinkles. You’ll create memories—and a scrumptious treat!
- Perfect for Sharing: With a yield of 24 cookies, there’s plenty to share with friends, family, or coworkers. They’re great for spreading joy and sweetness around!
Serving Suggestions
Now that you’ve whipped up a batch of these delightful spring cookies, let’s talk about how to enjoy them to the fullest! There are so many fun ways to serve these treats that will wow your friends and family.
First off, consider presenting them at a spring gathering or picnic. Imagine a colorful platter filled with these cookies, surrounded by fresh fruit like strawberries and blueberries. The vibrant colors and sweet flavors complement each other beautifully, creating a cheerful dessert spread! You could even pair them with a light, refreshing lemonade or iced tea for a delightful afternoon treat.
These cookies also make a great addition to any Easter brunch table. Stack them high on a cake stand and watch as everyone reaches for one (or two)! They’re perfect alongside traditional favorites like quiche or fruit salad. You could even include a fun DIY cookie decorating station, letting guests add their own sprinkles or icing for a personalized touch.
If you’re hosting a birthday party or a celebration, don’t forget to include these cookies as party favors! Package them in clear cellophane bags tied with colorful ribbons. It’s such a sweet way to send guests home with a tasty reminder of the fun they had!
And let’s not forget about cozy nights in! Pair these cookies with a scoop of vanilla ice cream or a warm cup of hot chocolate for a heavenly dessert experience. Trust me, the soft, chewy cookie combined with the creamy ice cream is a match made in sweet heaven.
So, whether you’re celebrating a special occasion or just enjoying a sunny spring day, these cookies are versatile enough to fit right in. Get creative with your serving ideas, and watch everyone savor each delicious bite!
Print
Spring Cookies: 5 Joyful Delights for Spring Celebrations
- Total Time: 27 minutes
- Yield: 24 cookies 1x
- Diet: Vegetarian
Description
Delicious spring-themed cookies perfect for any celebration.
Ingredients
- 2 cups all-purpose flour
- 1 cup sugar
- 1/2 cup butter, softened
- 1 large egg
- 1 tsp vanilla extract
- 1 tsp baking powder
- 1/2 tsp salt
- 1 cup sprinkles
Instructions
- Preheat your oven to 350°F (175°C).
- In a bowl, cream together the butter and sugar until light and fluffy.
- Add the egg and vanilla extract, mixing well.
- In another bowl, combine the flour, baking powder, and salt.
- Gradually add the dry ingredients to the wet mixture.
- Fold in the sprinkles.
- Drop spoonfuls of dough onto a baking sheet.
- Bake for 10-12 minutes or until the edges are lightly golden.
- Let cool on a wire rack.
Notes
- Store cookies in an airtight container.
- These cookies can be customized with different colors of sprinkles.
- Chill the dough for 30 minutes for thicker cookies.
- Prep Time: 15 minutes
- Cook Time: 12 minutes
- Category: Dessert
- Method: Baking
- Cuisine: American
Nutrition
- Serving Size: 1 cookie
- Calories: 150
- Sugar: 10g
- Sodium: 50mg
- Fat: 7g
- Saturated Fat: 4g
- Unsaturated Fat: 2g
- Trans Fat: 0g
- Carbohydrates: 20g
- Fiber: 0g
- Protein: 2g
- Cholesterol: 20mg
Keywords: spring cookies, festive cookies, dessert recipes