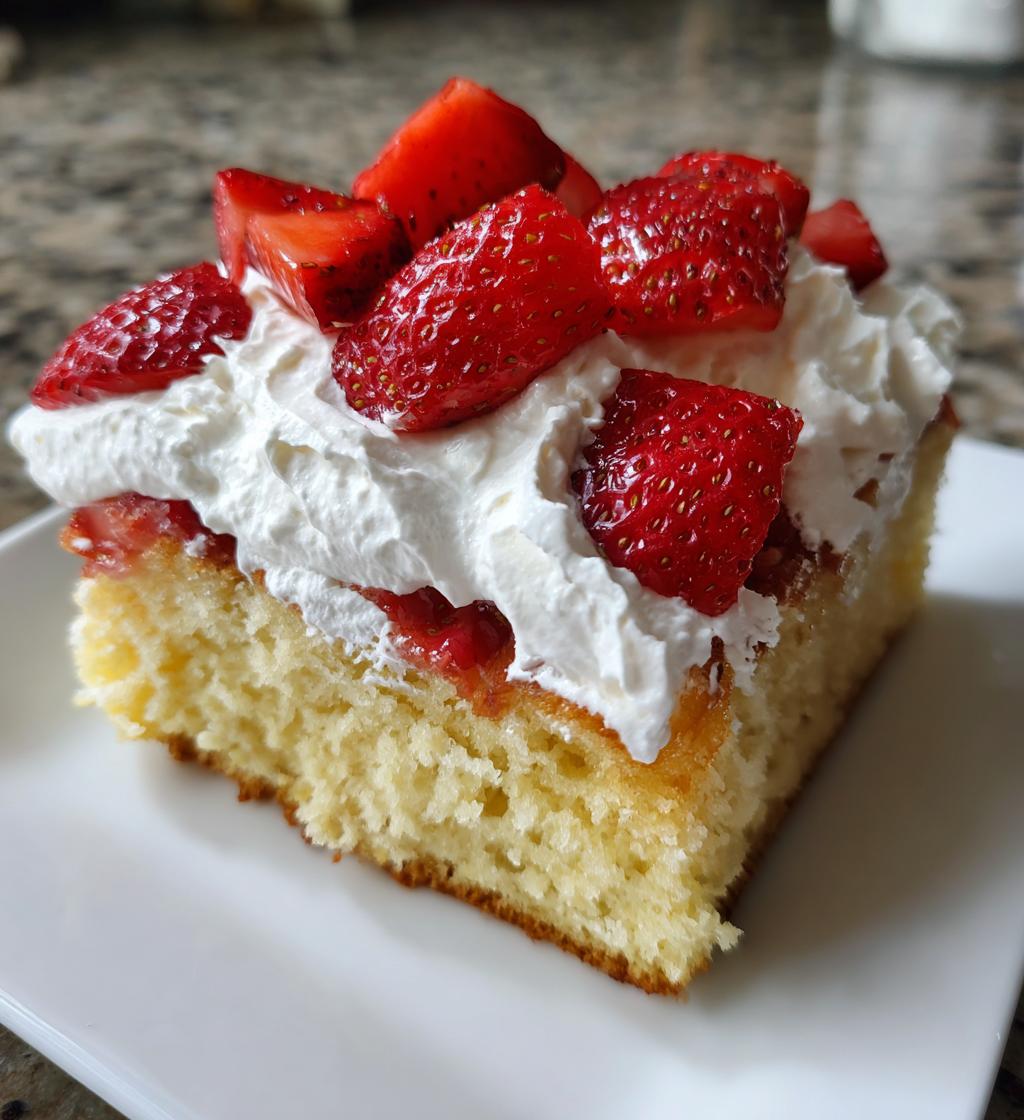
Ah, the joy of spring! There’s just something magical about the blossoms blooming and the sun shining brighter that makes me want to celebrate every moment. And what better way to welcome the season than with a delightful *spring cake*? This cake is a light and refreshing dessert that perfectly embodies the essence of springtime gatherings. I remember the first time I made this cake for a family picnic; the way everyone’s eyes lit up when they took that first bite was priceless! The sweetness of fresh strawberries paired with the fluffy, airy texture of the cake makes it an absolute showstopper. It’s a staple at our spring celebrations, whether it’s a birthday, a garden party, or just a sunny Sunday afternoon. Trust me, you’ll want to whip this up and share it with your loved ones – it’s the perfect way to celebrate the season!
Ingredients List
To create this delightful *spring cake*, you’ll need the following ingredients:
- 2 cups all-purpose flour
- 1 cup sugar
- 1/2 cup unsalted butter, softened
- 1 cup milk
- 3 large eggs
- 2 teaspoons baking powder
- 1 teaspoon vanilla extract
- 1/2 teaspoon salt
- 1 cup fresh strawberries, sliced
- 1 cup whipped cream for topping
Remember, using fresh strawberries is key to achieving that refreshing taste we all love in this cake. Make sure your butter is softened, but not melted – it should be creamy and easy to work with. Trust me, these little details make all the difference!
How to Prepare the Spring Cake
Now that we have our ingredients ready, let’s dive into the delightful process of making this *spring cake*! This is where the magic happens, and I promise you, it’s easier than it looks. Just follow these steps, and you’ll have a light and airy cake perfect for any spring celebration!
Preheat and Prepare
First things first, let’s preheat that oven to 350°F (175°C). This is super important because we want our cake to bake evenly. While that’s heating up, grab a round cake pan (9-inch works perfectly) and grease it with a little butter or cooking spray. You can also dust it with a bit of flour to make sure the cake slides right out when it’s done. Trust me, no one wants a cake that sticks!
Creaming the Butter and Sugar
In a large mixing bowl, add your softened unsalted butter and sugar. You’ll want to cream these together until it becomes light and fluffy – about 3-5 minutes. This step is crucial because it incorporates air into the mixture, which helps give our cake that lovely light texture. It should look pale and fluffy by the end of this step, so don’t rush it!
Mixing the Dry Ingredients
Now, in a separate bowl, let’s mix our dry ingredients. Combine the all-purpose flour, baking powder, and salt. Make sure to sift them together if you can; this helps prevent lumps and ensures an even distribution of the baking powder. I always say, a well-mixed dry mixture is key to a light cake!
Combining the Mixtures
Time to bring it all together! Gradually add the dry mixture to the creamed butter and sugar, alternating with the milk. Start with a third of the dry ingredients, mix until just combined, then add half of the milk. Repeat this process until everything is mixed in. This alternating method helps to keep the batter light and fluffy. You don’t want to overmix it, so stop as soon as you see no flour streaks!
Adding Fresh Strawberries
Now for the star ingredient: the fresh strawberries! Gently fold in the sliced strawberries into the batter. This is where the cake gets its freshness and moisture, so be gentle. You want those beautiful red pieces to be scattered throughout, making each bite a delightful surprise!
Baking the Cake
Pour the batter into your prepared cake pan and spread it out evenly. Pop it in the oven and bake for about 30-35 minutes. You’ll know it’s ready when a toothpick inserted into the center comes out clean. Keep an eye on it, as oven times can vary. The cake should be golden on top and spring back when you gently press it!
Cooling and Serving
Once it’s done, let the cake cool in the pan for about 10 minutes, then transfer it to a wire rack to cool completely. This cooling step is important; you don’t want to add whipped cream to a warm cake or it’ll melt right off! Once it’s cooled, top it with a generous dollop of whipped cream. Serve it up, and watch everyone’s faces light up when they take that first bite!
How to Prepare the Spring Cake
Now that we have our ingredients ready, let’s dive into the delightful process of making this spring cake! This is where the magic happens, and I promise you, it’s easier than it looks. Just follow these steps, and you’ll have a light and airy cake perfect for any spring celebration!
Preheat and Prepare
First things first, let’s preheat that oven to 350°F (175°C). This is super important because we want our cake to bake evenly. While that’s heating up, grab a round cake pan (9-inch works perfectly) and grease it with a little butter or cooking spray. You can also dust it with a bit of flour to make sure the cake slides right out when it’s done. Trust me, no one wants a cake that sticks!
Creaming the Butter and Sugar
In a large mixing bowl, add your softened unsalted butter and sugar. You’ll want to cream these together until it becomes light and fluffy – about 3-5 minutes. This step is crucial because it incorporates air into the mixture, which helps give our cake that lovely light texture. It should look pale and fluffy by the end of this step, so don’t rush it!
Mixing the Dry Ingredients
Now, in a separate bowl, let’s mix our dry ingredients. Combine the all-purpose flour, baking powder, and salt. Make sure to sift them together if you can; this helps prevent lumps and ensures an even distribution of the baking powder. I always say, a well-mixed dry mixture is key to a light cake!
Combining the Mixtures
Time to bring it all together! Gradually add the dry mixture to the creamed butter and sugar, alternating with the milk. Start with a third of the dry ingredients, mix until just combined, then add half of the milk. Repeat this process until everything is mixed in. This alternating method helps to keep the batter light and fluffy. You don’t want to overmix it, so stop as soon as you see no flour streaks!
Adding Fresh Strawberries
Now for the star ingredient: the fresh strawberries! Gently fold in the sliced strawberries into the batter. This is where the cake gets its freshness and moisture, so be gentle. You want those beautiful red pieces to be scattered throughout, making each bite a delightful surprise!
Baking the Cake
Pour the batter into your prepared cake pan and spread it out evenly. Pop it in the oven and bake for about 30-35 minutes. You’ll know it’s ready when a toothpick inserted into the center comes out clean. Keep an eye on it, as oven times can vary. The cake should be golden on top and spring back when you gently press it!
Cooling and Serving
Once it’s done, let the cake cool in the pan for about 10 minutes, then transfer it to a wire rack to cool completely. This cooling step is important; you don’t want to add whipped cream to a warm cake or it’ll melt right off! Once it’s cooled, top it with a generous dollop of whipped cream. Serve it up, and watch everyone’s faces light up when they take that first bite!
FAQ Section
Got questions about making this delightful *spring cake*? Don’t worry, I’ve got you covered! Here are some common queries I’ve encountered along the way:
Can I substitute the milk for a dairy-free option?
Absolutely! You can use almond milk, oat milk, or any other dairy-free milk you prefer. Just make sure it’s unsweetened to keep the flavors balanced. Your cake will still turn out light and fluffy!
What if I don’t have fresh strawberries?
No problem at all! Feel free to swap in other fresh fruits like blueberries, raspberries, or even diced peaches. Each fruit brings its own unique flavor, and they’ll all work beautifully in this cake!
How should I store leftovers?
If you have any cake left (though I doubt it!), you can store it in an airtight container in the refrigerator for up to 3 days. Just make sure to wait until the whipped cream is added before serving. It’s best enjoyed fresh!
Can I make this cake ahead of time?
Definitely! You can bake the cake a day in advance. Just let it cool completely, then wrap it tightly in plastic wrap. When you’re ready to serve, add the whipped cream topping for that fresh finish!
What if my cake doesn’t rise properly?
If your cake doesn’t rise as expected, it could be due to expired baking powder or overmixing the batter. Always check the expiration date on your baking powder and remember to mix just until combined for that airy texture!
Why You’ll Love This Recipe
This *spring cake* is truly a gem, and here’s why you’ll adore it:
- Quick and Easy: With just 15 minutes of prep time, you can whip up this cake in no time. Perfect for those spontaneous spring gatherings!
- Light and Refreshing: The combination of fresh strawberries and a fluffy texture makes each bite feel like spring on your palate.
- Versatile: Whether it’s a birthday party, a picnic, or a casual brunch, this cake fits right in and impresses every time.
- Make-Ahead Friendly: Bake it a day early, and it’s still just as delicious. No stress for you!
- Beautiful Presentation: Topped with whipped cream and fresh strawberries, this cake is not only tasty but also a stunning centerpiece for your table.
Trust me, once you try it, this *spring cake* will become a go-to recipe for all your seasonal celebrations!
Tips for Success
Want to make sure your *spring cake* turns out perfectly every time? Here are some pro tips to keep in mind!
- Use Room Temperature Ingredients: Make sure your butter, eggs, and milk are at room temperature. This helps them blend together more smoothly, resulting in a lighter cake.
- Don’t Overmix: When you combine the wet and dry ingredients, mix just until everything is combined. Overmixing can lead to a dense cake, and we want it airy and fluffy!
- Check for Freshness: Always check the expiration date on your baking powder. Fresh baking powder is key to getting that perfect rise!
- Cool Completely: Allow your cake to cool completely before adding whipped cream. This ensures the cream stays fluffy and doesn’t melt into the cake.
- Experiment with Fruit: Feel free to try different fruits! Each fruit will give your cake its own unique twist, so have fun with it!
With these tips, you’ll be on your way to creating a show-stopping *spring cake* that everyone will rave about!
Variations
Want to get creative with your *spring cake*? There are so many delicious ways to mix it up! Here are a few fun variations that will keep your cake exciting and fresh:
- Berry Medley: Swap out the strawberries for a mix of berries like blueberries, raspberries, and blackberries. This combo not only looks gorgeous but adds a burst of flavor!
- Citrus Twist: Add zest from a lemon or orange to the batter for a zesty kick. It brightens the flavor beautifully and gives a lovely aroma while baking.
- Peach Perfection: Diced fresh peaches are a fantastic alternative to strawberries. They bring a juicy sweetness that’s perfect for summer vibes!
- Chocolate Drizzle: For a decadent touch, melt some dark chocolate and drizzle it over the whipped cream topping. It adds a rich contrast to the light cake.
- Nuts and Spices: Toss in some chopped walnuts or pecans for a delightful crunch, or add a pinch of cinnamon for a warm, comforting flavor.
These variations are not only simple but allow you to customize your *spring cake* for any occasion. Enjoy experimenting!
Storage & Reheating Instructions
If you happen to have any leftover *spring cake* (which is highly unlikely, but just in case!), storing it properly is key to keeping it fresh. First, make sure the cake is completely cooled. Once cooled, cover it tightly with plastic wrap or store it in an airtight container to prevent it from drying out. It’ll stay delicious in the refrigerator for up to 3 days.
When you’re ready to enjoy a slice again, you can serve it cold or let it sit at room temperature for about 30 minutes. If you prefer it warm, pop a slice in the microwave for about 10-15 seconds. Just be careful not to overheat it, or the texture might get gummy! A quick warm-up can bring back that fresh-baked goodness, ready to impress all over again!
Nutritional Information Section
While I’ve included some general nutritional details about the *spring cake*, please keep in mind that nutrition can vary based on the specific brands and ingredients you use. The figures provided are estimates and may not reflect the exact values in your homemade cake. Always check the nutrition labels on your ingredients for the most accurate information!
Here’s a quick glance at the nutrition for one slice of this delightful cake:
- Calories: 250
- Sugar: 15g
- Sodium: 150mg
- Fat: 10g
- Saturated Fat: 5g
- Unsaturated Fat: 4g
- Trans Fat: 0g
- Carbohydrates: 38g
- Fiber: 1g
- Protein: 4g
- Cholesterol: 70mg
Enjoy your *spring cake* guilt-free, knowing you’re treating yourself to a delightful slice of sweetness!
What to Do Next
Now that you’ve whipped up this delightful *spring cake*, I’d love to hear all about your experience! Did you try any fun variations or have a special moment while baking? Share your thoughts in the comments below – I can’t wait to read them! If you loved this recipe, please consider giving it a rating. Your feedback helps me continue sharing my favorite recipes with fellow home cooks. Happy baking, and may your *spring cake* bring joy to your celebrations!
Print
Spring Cake: 5 Magical Ways to Celebrate the Season
- Total Time: 50 minutes
- Yield: 8 servings 1x
- Diet: Vegetarian
Description
A light and refreshing cake perfect for spring celebrations.
Ingredients
- 2 cups all-purpose flour
- 1 cup sugar
- 1/2 cup unsalted butter, softened
- 1 cup milk
- 3 eggs
- 2 teaspoons baking powder
- 1 teaspoon vanilla extract
- 1/2 teaspoon salt
- 1 cup fresh strawberries, sliced
- 1 cup whipped cream for topping
Instructions
- Preheat your oven to 350°F (175°C).
- In a large bowl, cream together butter and sugar until light and fluffy.
- Add eggs one at a time, mixing well after each addition.
- Stir in vanilla extract.
- In another bowl, mix together flour, baking powder, and salt.
- Gradually add dry ingredients to the creamed mixture, alternating with milk.
- Fold in sliced strawberries.
- Pour batter into a greased cake pan.
- Bake for 30-35 minutes or until a toothpick comes out clean.
- Let cool and top with whipped cream before serving.
Notes
- For added flavor, use lemon zest in the batter.
- Store leftovers in the refrigerator.
- This cake can be made a day in advance.
- Prep Time: 15 minutes
- Cook Time: 35 minutes
- Category: Dessert
- Method: Baking
- Cuisine: American
Nutrition
- Serving Size: 1 slice
- Calories: 250
- Sugar: 15g
- Sodium: 150mg
- Fat: 10g
- Saturated Fat: 5g
- Unsaturated Fat: 4g
- Trans Fat: 0g
- Carbohydrates: 38g
- Fiber: 1g
- Protein: 4g
- Cholesterol: 70mg
Keywords: spring cake, dessert, fresh strawberries